Account UI
Accounts in PayData can be created and updated using the Account UI - a graphical user interface that enables end users to interactively select an account type and specify required account settings and credentials. For accounts with OAuth2 authentication Account UI redirects the end user to a web site of the payment provider where the end user logs in and authorizes PayData to read transactions.
Overview
To create or update an account with the Account UI, the partner software should follow these steps:
- Initiate a session by calling the Create Account UI endpoint, which creates a new session and returns its URL.
- Open the Account UI session URL for the end user who interacts with Account UI and enters the necessary data.
- Get the status of the session and if it ended successfully, get the ID of the created account, save and use it later to get transactions.
If you specify a redirect URL in step 1, the Account UI redirects to that URL when the session is completed and returns the resulting status of the session and the ID of the created account if the session succeeds.
If you do not specify a redirect URL in step 1, Account UI displays a window with results at the end of the session. The end user should close the window and then you can call the PayData API endpoint that returns the status of a UI session. The results for a successful session contain the ID of the created account.
Details for these steps are provided below.
Add a redirect URL
If you have one or several URLs that can be redirected to after the Account UI session is completed, specify these in the partner settings. Then you can use one of these URLs in step 1 to facilitate smooth transfer of control from Account UI to partner software at the end of the Account UI session.
This is a separate whitelist from the redirectUrls used by the direct OAuth flow — Account UI's redirect URLs live under uiSettings.redirectUrls instead (see Settings).
Use the UpdatePartnerSelf endpoint to set up redirect URLs as in this example:
PUT /partner/v2/partners/self HTTP/1.1
Host: sandbox.paydata-api.com
Authorization: Bearer {PartnerToken}
Content-Type: application/json
{
  "email": "partner@example.de",
  "name": "First Partner",
  "userTokenExpirySeconds": 3600,
  "uiSettings": {
    "redirectUrls": [
      "https://example.de/ui_redirect_url1",
      "https://example.de/ui_redirect_url2"
    ]
  }
}
{
  "id": "8fkjh5",
  "name": "First Partner",
  "email": "partner@example.de",
  "userTokenExpirySeconds": 3600,
  "permissions": [
    "partner:read",
    "partner:update",
    "user:all"
  ],
  "isDeleted": false,
  "uiSettings": {
    "redirectUrls": [
      "https://example.de/ui_redirect_url1",
      "https://example.de/ui_redirect_url2"
    ],
- Specify redirect URLs in the
uiSettings.redirectUrlsarray - Pass your full partner settings, not just
uiSettings— the update endpoint resets any setting you omit to its default (see the warning on Settings) - See UpdatePartnerSelf for a description of other parameters
Step 1. Create a UI session.
To initiate an Account UI session use the CreateAccountUi endpoint as in this example:
POST /partner/v2/accountui HTTP/1.1
Host: sandbox.paydata-api.com
Authorization: Bearer {UserToken}
Content-Type: application/json
{
  "expiresIn": 3600,
  "accountId": "5dshwegr36",
  "accountTypeIds": [
    "dummy-oauth"
  ],
  "redirectUrl": "https://example.de/ui_redirect_url"
}
{
  "url": "https://sandbox.paydata-api.com/partner-ui/v1/g3hzuek4c17",
  "id": "g3hzuek4c17",
  "expiresIn": 3600,
  "createdAt": "2023-12-12T13:19:32.9709497Z",
  "expiresAt": "2023-12-12T14:19:32.9709497Z",
  "accountTypeIds": [
    "dummy-oauth"
  ]
}
- Specify
accountIdwhen updating an existing account - Provide
accountTypeIdswhen you want to restrict the available types. If more than one account type is available, the end user selects the account type in Account UI in step 2.1. - Set
expiresInin seconds to determine how long the link to the session remains valid. Default value is 3600 seconds. - Add your
redirectUrlto be redirected to after the Account UI session is completed. If specified, it should be whitelisted in the partner's settings.
In the response:
urlis the URL where the end user should be redirectedidis the session id which can be used to get the session status with GetAccountUiStatusexpiresInis how long the link to the session remains valid in secondscreatedAtis the timestamp of the session creationexpiresAtis the timestamp of the expiration of theurlaccountIdis returned only if specified in the request when updating an existing account
Step 2. Use Account UI
Redirect the end user to the URL obtained in step 1. Now the Account UI session starts.
At this step the end user interacts with Account UI to choose an account type and to enter settings and credentials authorizing PayData to get data from the selected payment provider.
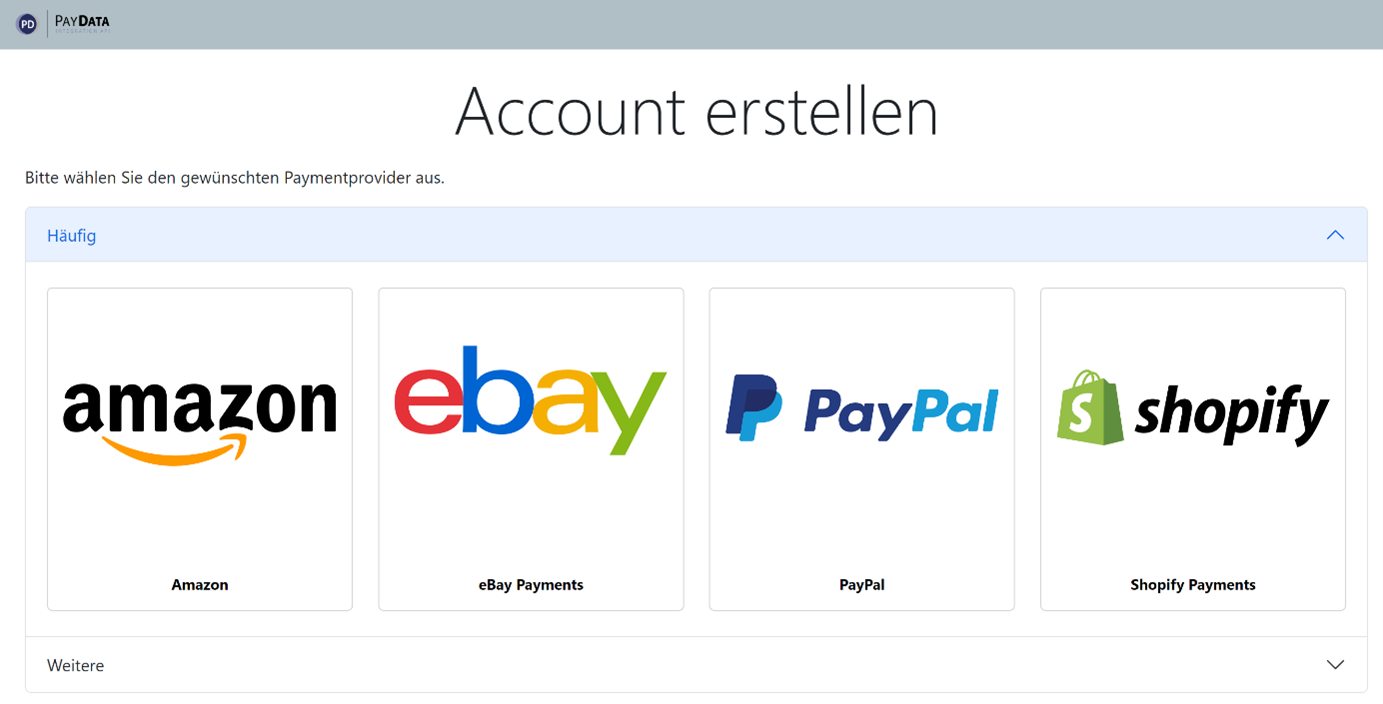
2.1. Choose account type
If a new account is being created (accountId was not specified), the Account UI presents a list of available account types. From these, the end user selects the account type to be created. If only a single type is available, the Account UI proceeds directly to step 2.2.
2.2. Enter account settings and credentials
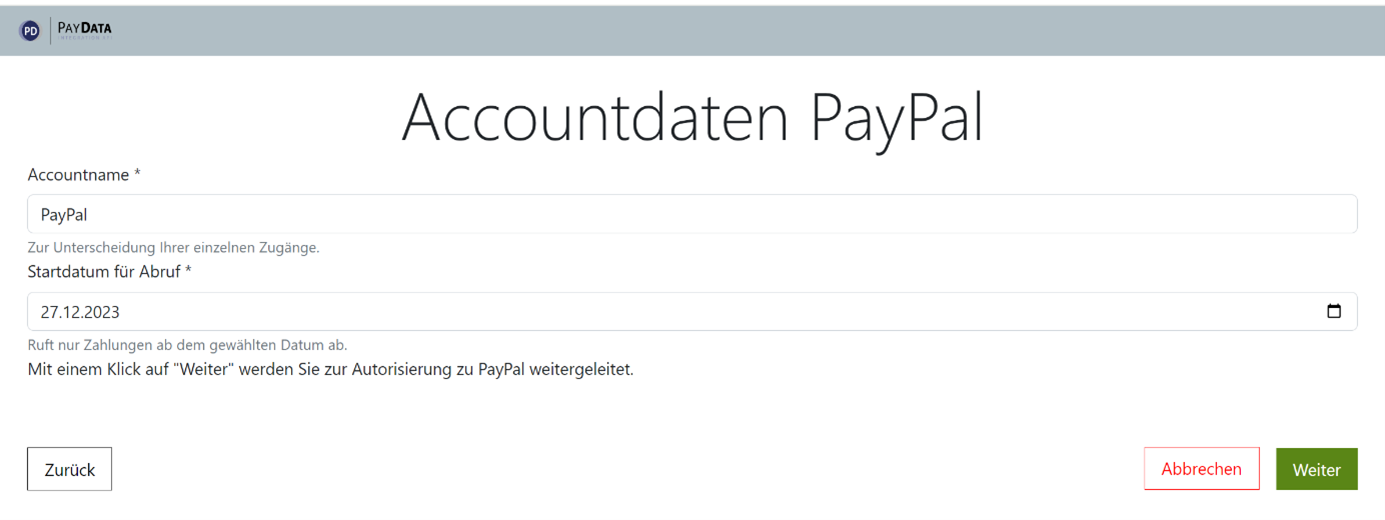
Once the desired account type is chosen, a form is opened to fill out settings and credentials required for that particular account type. Before proceeding to the next step, a connection test is automatically performed in the background to validate the credentials.
2.3. Authenticate with payment provider
For some account types it is necessary to additionally authenticate with the respective provider. If that is the case, the end user is redirected to the provider's web site where they enter credentials for that provider and authorize PayData to obtain transactions.
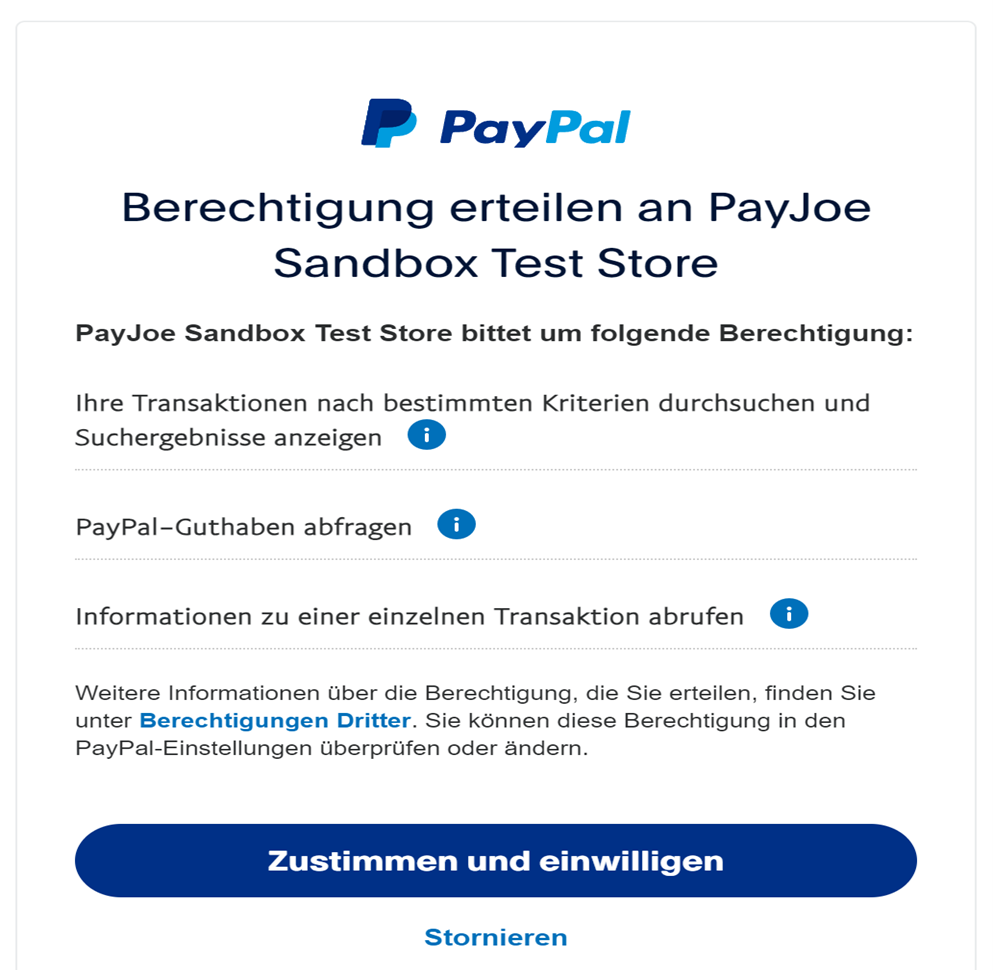
Afterwards the user is automatically redirected back to Account UI.
Step 3. Get session status and account id
Now the Account UI session is completed.
If no redirectUrl was provided in step 1, the end user gets a confirmation message on the screen that the account has been successfully created or updated.
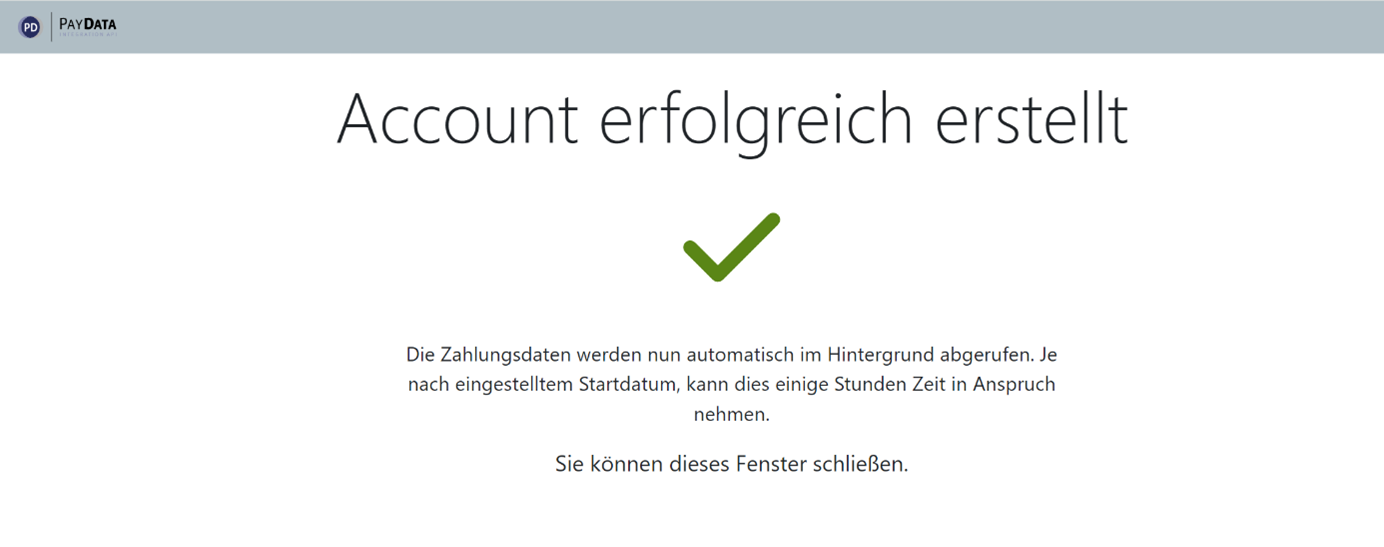
In case an error occurred, the end user receives an error message instead.
At this point to obtain the status of the completed session and the id of the created account call the GetAccountUiStatus endpoint as in this example:
GET /partner/v2/accountui/g3hzuek4c17 HTTP/1.1
Host: sandbox.paydata-api.com
Authorization: Bearer {UserToken}
{
  "status": "Success",
  "id": "7jhmfwjame",
  "expiresIn": 3600,
  "createdAt": "2024-03-27T10:07:21.4085368Z",
  "expiresAt": "2024-03-27T11:07:21.4085368Z",
  "accountId": "xegdfke5t1",
  "accountTypeIds": [
    "dummy-oauth"
  ]
}
{SessionId} is the id from step 1 — in the example above, g3hzuek4c17.
In the response:
statuscan beSuccess,Canceled,ErrororExpired. IfSuccess,accountIdcan be used to get transactionsaccountIdis the id of the created or updated accountaccountTypeIdis the account type that was initially requested in step 1
If a redirect URL was specified in step 1, then instead of showing a message, Account UI redirects the end user to that URL and provides results of the session in query parameters as in this example:
https://example.de/some_redirect_url?sessionId=7jhmfwjame&status=Success&message=Account%20created%20successfully&accountId=xegdfke5t1
sessionIdis the sessionidfrom the response on step 1statuscan beSuccess,Error,CanceledorExpiredmessageis a text message in case of an erroraccountIdis the account id to be used to get transactions